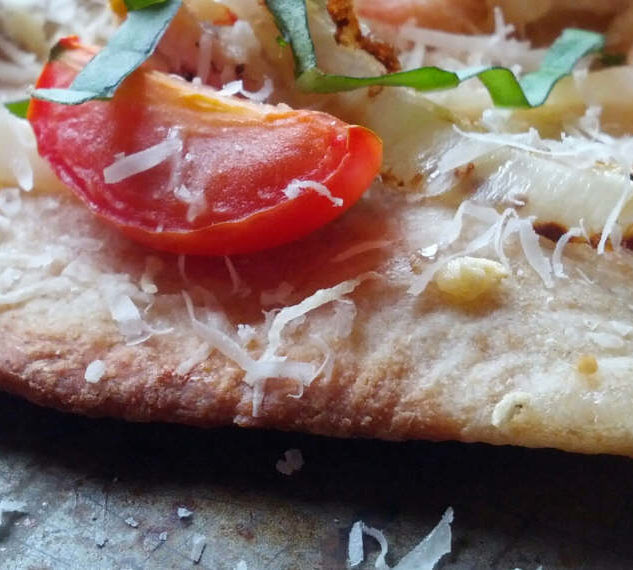
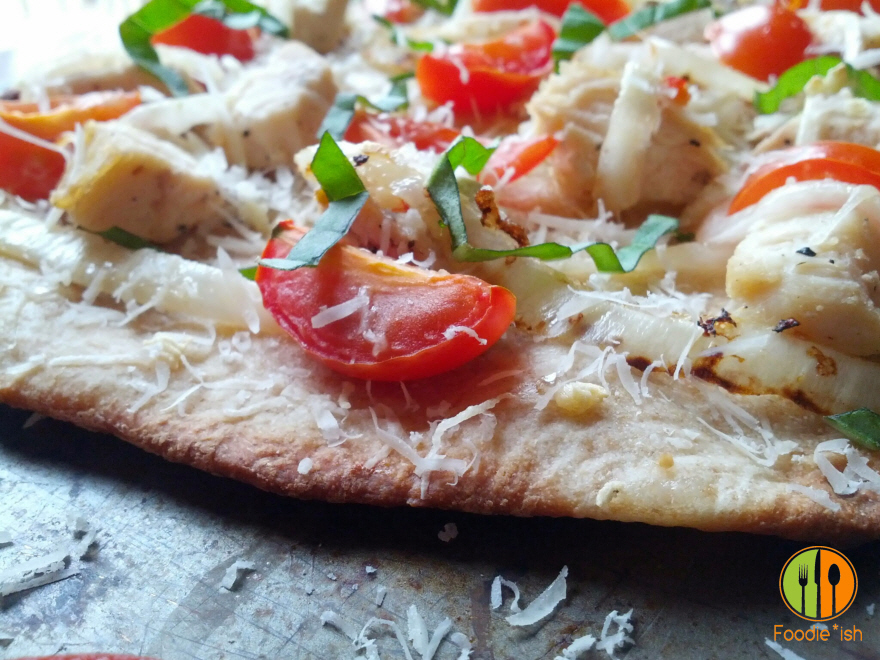
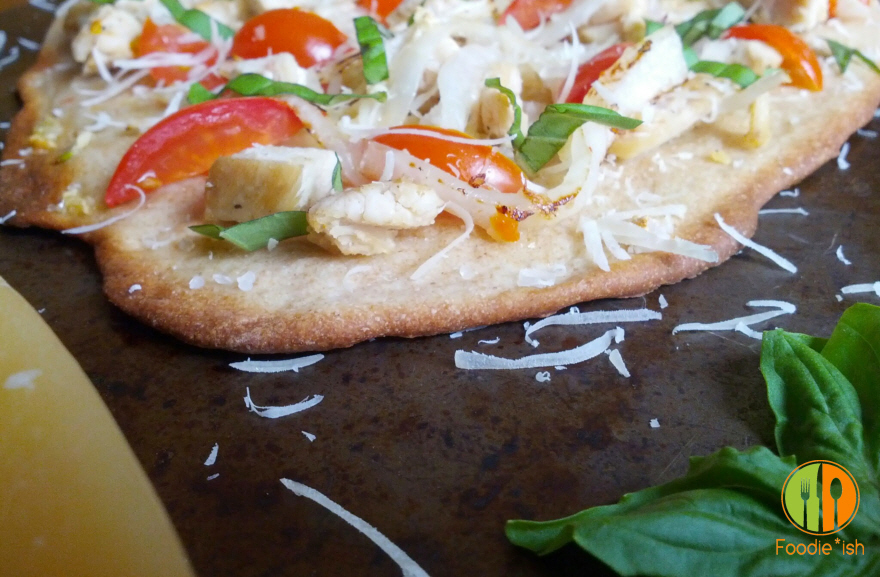
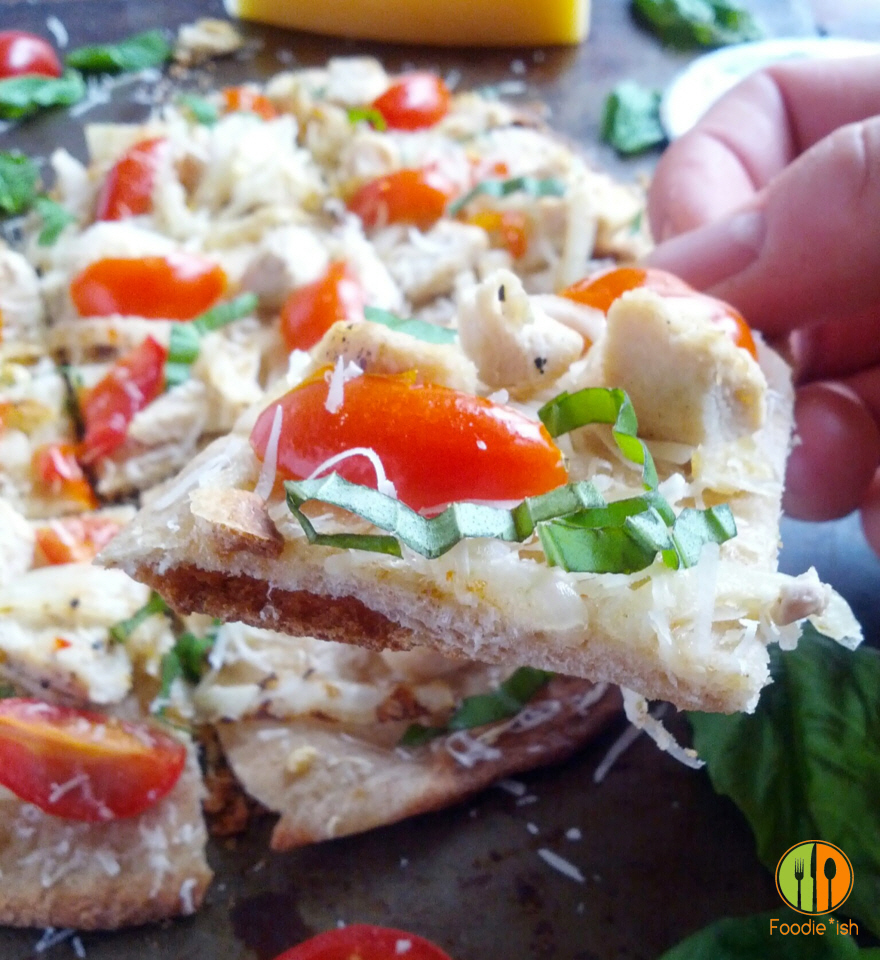
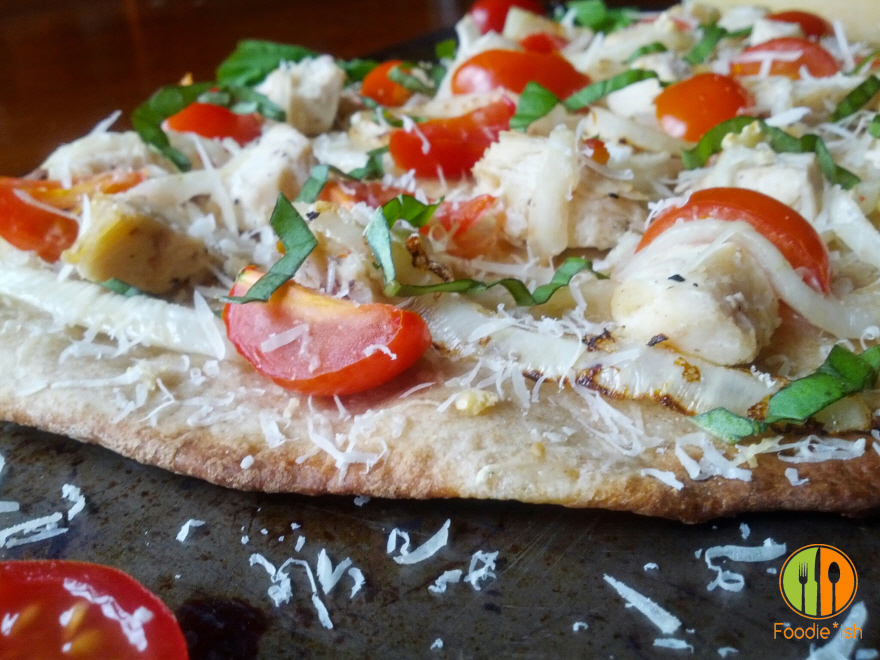
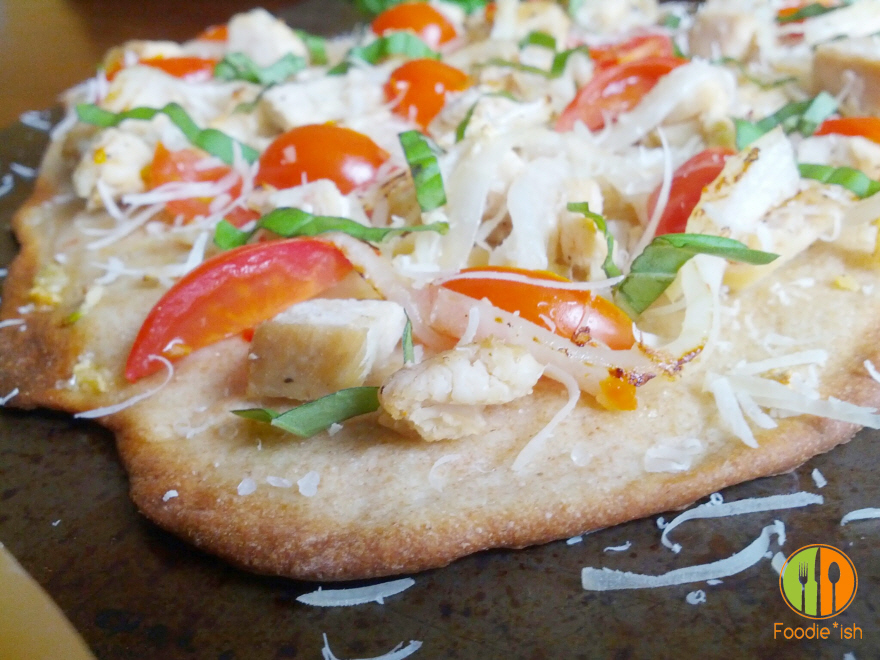
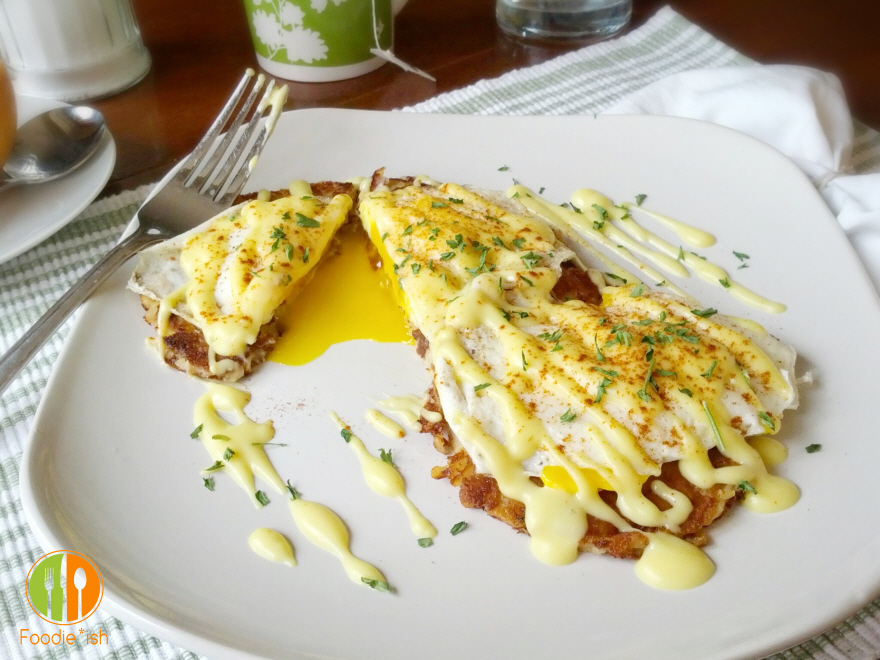
Today I made an awesome accidental discovery, and oh my lanta, was it tasty! See, my intention this morning was to make fresh pita breads for Southwest chicken pita sandwiches, but what I wound up with was the most perfect cracker-thin, crispy pizza crust. The crust that eludes most of us because it is so difficult to create. Either it’s dry and floury, or it’s just a smidgen too thick and chewy. Never the cracker-like, crispy, crunchity crust… until today, my friends. This thing is THE perfect thin crust! And it’s super easy.
I can’t quite figure out why my “pitas” never pita’d. Perhaps my oven just could get hot enough? Perhaps it was the wheat flour? I scrounged around looking for answers and everyone said it’s because I didn’t roll them thin enough. Au contraire. These suckers were paper thin. Well, thinner than I’ve ever rolled anything ever, anyway.
Oh well. I guess, I’ll try again with a different pita recipe another day. But today I have crispy thin-crust pizza!
And even though it was not at all what I had planned, I wasn’t about to let this perfect opportunity pass me by. So I threw the ingredients I planned to use for the pita sandwiches back in the fridge and scrounged around for something that would be the perfect toppings for this perfect thin crust.
When I was in college, my mom used to make what she called Trattoria Pizzas on flour tortillas. The basic ingredients were olive oil, garlic, shredded mozzarella, and shrimp, and maybe some basil if she had it. And let me tell you… the flavor was fantastic! It was super light and perfectly rich. And they were the perfect food for entertaining because you could bust out a dozen in an hour. However, the one downfall (that she would readily admit) was the reliance on flour tortillas as the base since at that time, you couldn’t even buy a cracker-thin crust. So they were a little too thin and never crisped up quite right, but they were still delicious
When I accidentally made a super thin flat bread today hoping to maybe, by a miracle, get this silly dough to puff up like a pita, I instantly thought “Trattoria Pizzas!!!!”. And my mom is gonna be so excited when she reads this (if she reads this). 😉
For this shoot, I topped it with fresh tomatoes and basil, a little grilled chicken and some parmesan. At night I topped them with chicken, marinated onions, sharp cheddar and mozzarella. Two pizzas in one day… HEAVEN! I don’t have photos of that one because my husband wouldn’t wait. They looked too yummy 😉
** This dough is really versatile. You can also use it to create flat bread for sandwiches. Just don’t roll quite as thin (1/4″-1/2″ as opposed to 1/8th) and bake as instructed below and top with your favorite toppings, fold, and eat. The additional baking time when you turn them into a pizza really crisps them up, so if you intend to use them as a flatbread, roll them a little thicker and do not bake longer than 5 or 6 minutes of initial baking as instructed in the recipe below.
** I am including an affiliate link for my favorite pizza stone. I use this thing all the time for pizza and bread and it makes such a huge difference in your results. If you plan on making pizza and breads even semi-frequently, I highly recommend investing in a stone, and this one is the one I use almost everyday. If you decide to purchase through the link above, I will receive a small commission on the sale (and it doesn’t affect your cost at all). But it does help support Foodie*ish, so thank you bunches!!

Crispy Thin Pizza Crust
Super crispy, cracker-like pizza crust. Yum!
Ingredients
- 1 cup whole wheat flour
- 2 cups all-purpose flour
- 2 tsp rapid-rise yeast
- 2 tsp salt
- 1 TBSP sugar
- 2 TBSP olive oil
- 1 1/4 - 1 1/2 cups warm water (110 degrees)
Instructions
- Toss all dry ingredients in the bowl of a standing mixer. With the paddle attachment, begin to combine on low speed. *If you are using active-dry yeast instead of rapid rise, let proof as directed on package before adding additional ingredients.
- Add olive oil and 1 1/4 cup warm water and speed up mixer to combine. Dough should come together. If you find that some of the flour is not coming together with the mass, add a little more water until it all comes together. At this point you should have a sticky, well combined dough.
- Switch to your dough hook, and knead on a low speed (2 or 3) for 10-12 minutes. You should end up with a ball of dough you could knead with your hands without much mess. Sprinkle a little flour on a flat surface and hand knead just until the dough is no longer sticky and is elastic. Place in an oiled bowl, and flip over to coat the dough. Cover with plastic wrap and let rise for 90 minutes, or until doubled.
- Once your dough has doubled, preheat your oven and pizza stone at 450 degrees. Punch down the dough to release some of the trapped gases and cut into 8 pieces. Roll each piece into a smooth ball. Cover your dough balls with plastic wrap and let relax for 30 minutes.
- After the dough has relaxed, place a roll on parchment and roll into a roughly 10″ x 8″ rectangle. Don’t worry if you get a bit of an odd shape, it adds character. Your main concern is rolling them as thin as you possibly can. 1/8″ thick is what you’re going for. I did mine one at a time, but if you can fit two on your stone, by all means, do two at a time.
- Using a pizza peel, transfer crusts to hot pizza stone and Bake for 3-5 minutes or just until baked through but not browned or crispy. Take out and let cool on a rack and repeat with remaining dough balls. At this point you can wrap them in plastic wrap and store them for later use.
- FOR PIZZA: Add your toppings and bake at 450 degrees for and additional 5-11 minutes. My first pizza took 5 minutes because my stone and oven had been preheated for over an hour. My second pizza took 11 minutes since my oven hadn’t preheated as long. So you will have to keep an eye on them.
- You will know they are done when the edges get golden, to dark brown in parts and all your cheese is melted.
Notes
If you don’t have a pizza stone, place an inverted baking sheet in the oven and let it preheat. This will act as your baking surface.
If you don't have a pizza peel, roll each crust out on a piece of parchment and then transfer that onto your hot pizza stone. I use a sturdy cutting board as a base to hold and just slide the parchment onto my hot stone.
These can be stored if wrapped in plastic for 3-4 days, or in the freezer for up to 2 months.
Recommended Products
This site contains affiliate links to products. If you click-through and purchase an item, you will not pay a penny more than you otherwise would, but we may receive a small commission to help us keep the food in Foodie*ish. Thanks for your support!
-
 Wusthof Classic 7-piece Slim Knife Block Set (Acacia)
 -
 Mixing Bowls with Airtight Lids, 6 piece Stainless Steel Metal Bowls by Umite Chef, Measurement Marks & Colorful Non-Slip Bottoms Size 7, 3.5, 2.5, 2.0,1.5, 1QT, Great for Mixing & Serving
 -
 Kitchenaid Professional 600 Stand Mixer 6 quart, Empire Red
Nutrition Information:
Yield: 8 Serving Size: 1Amount Per Serving: Calories: 204Total Fat: 4gSaturated Fat: 1gTrans Fat: 0gUnsaturated Fat: 3gCholesterol: 0mgSodium: 585mgCarbohydrates: 37gFiber: 3gSugar: 2gProtein: 6g
This website provides approximate nutrition information for convenience and as a courtesy only. Nutrition information can vary significantly for a recipe based on factors such as precision of measurements, brands, ingredient freshness, or the source of nutrition data. We strive to keep the information as accurate as possible, but make no warranties regarding its accuracy. We encourage readers to make their own calculations based on the actual ingredients used in your recipe, using your preferred nutrition calculator.

